DevStack CLI
The DevStack CLI is an easy-to-use tool that takes care of establishing an SSH connection with port-forwarding between your local machine and a Cloud Development Environment (CDE). Depending on the method of source code synchronisation, it also handles file syncing.
Get Started
DevStack CLI is available on PyPI (https://pypi.org/).
Prerequisites
The following binaries must be installed to be able to install and use DevStack CLI:
- ssh
- ssh-keyscan
- rsync
- git
- pipx
On Debian/Ubuntu the packages can be installed with
sudo apt install openssh-client rsync git pipx
Installation
You can install DevStack CLI globally with pipx
pipx install devstack-cli
The installation is done when you see this:
  installed package devstack-cli 9.0.0, Python 3.8.10
  These binaries are now globally available
    - devstack-cli
done! ✨ 🌟 ✨
Finally, let's make sure that the PATH variable is updated:
pipx ensurepath
Updating DevStack CLI
To update DevStack CLI to the latest version, run the following command:
pip install --upgrade devstack-cli
Usage
To get started, run the following command:
devstack-cli
Creating and Configuring a new CDE
If this is your first time using DevStack CLI (or you have deleted your configuration file), you will be prompted to complete the configuration.
The configuration is stored in ~/.config/devstack-cli.conf.
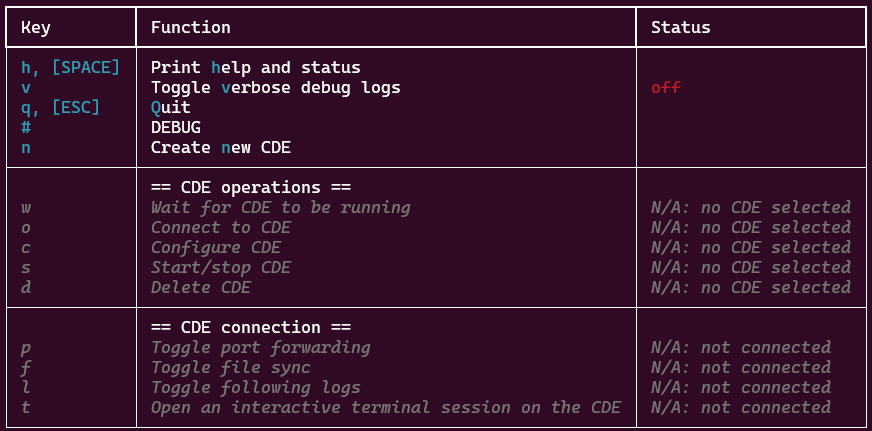
Once configured, DevStack CLI displays the available commands and status of your CDEs. If this is your first time using DevStack CLI and your DevStack administrator has not yet created any CDEs for you, there will be no CDEs displayed:

The CLI displays the available commands
Commands that are not available are greyed out. E.g. to connect to a CDE, you must first create and configure it.
You can create a new CDE by pressing the corresponding button n. A list with available CDE types will be displayed. If there are no CDE types available, or the
CDE type you need is not in the list, you can ask your DevStack administrator to add it.
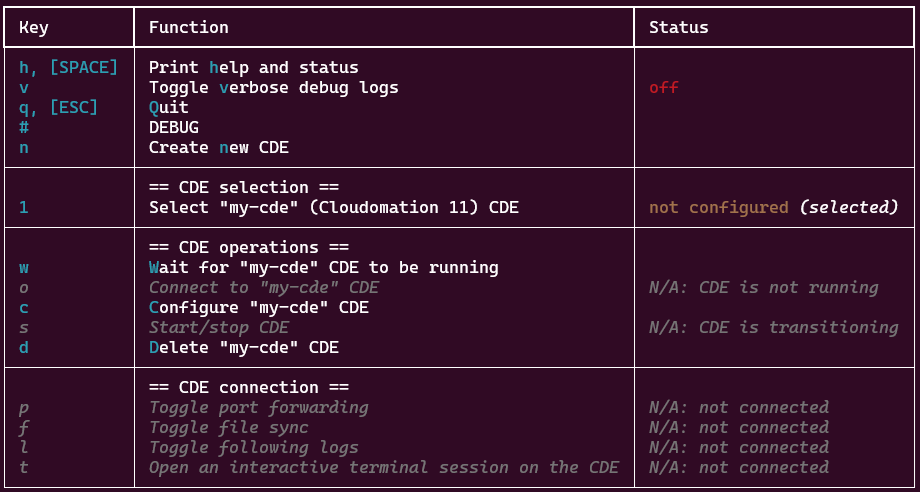
Once you have selected a CDE type, you will be prompted to choose a name for your CDE. After choosing a name, Cloudomation Engine starts deploying the CDE, and the CDE will already be listed by the CLI:

The CDE is now listed by the CLI
Whenever you want to see the available commands and the status of your CDEs, press h or [SPACE].
Make sure that the CDE is selected by pressing the corresponding number. A CDE is selected when the text "(selected)" appears in the status column next to the CDE.
Configure the CDE by pressing c. This will open a configuration menu where you can change the directories for the sources and outputs, and how long
the CDE runs before it is automatically stopped.
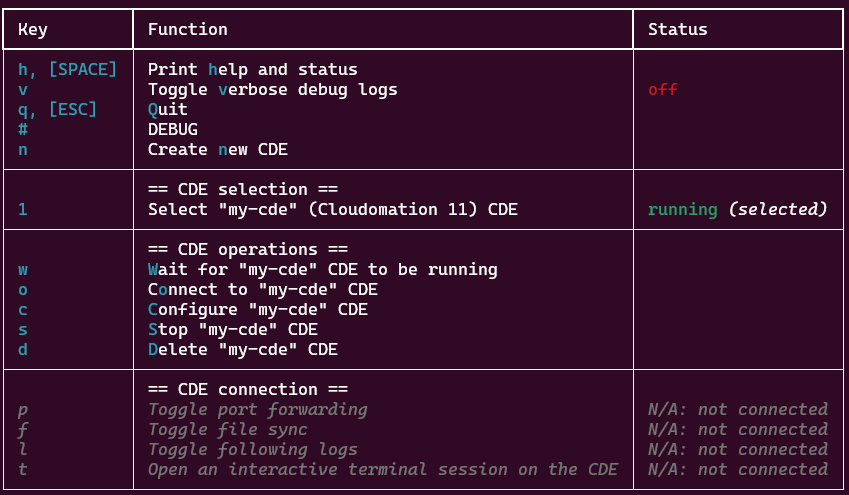
Depending on how long it takes to deploy the CDE, the CDE might be already running or still updating.

The CDE is running
If your CDE is still updating, you can press w to wait until the CDE is ready. Alternatively, you can press h to check the status of the CDEs repeatedly until it is running.
Connecting via SSH and Developing with a CDE
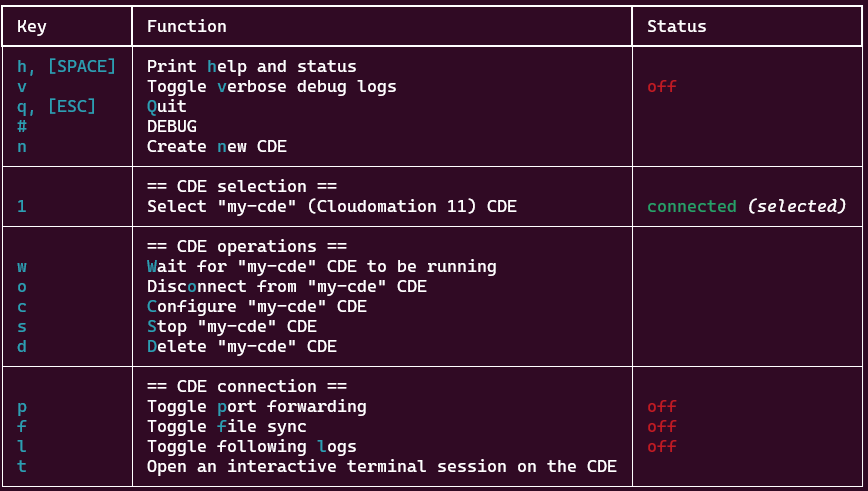
Once a CDE is running, you can connect to it via SSH by pressing o. After this, all remaining commands will be available:

Connected to the CDE
To start developing, make sure, that the file sync is on. This will ensure that the sources are cloned from the CDE to your local machine and a continuous sync of the deltas is established.
You might also want to turn on port forwarding and follow logs to see the effects of the changes you make.