Try Out DevStack
Want to see how DevStack works in a real development project? We at Cloudomation offer free-to-use cloud development environments (CDEs) for an open source project: Bitwarden, an open source password manager.
You can see for yourself how easy it is to set up a development environment and start working on the source code. Once your sign-up is verified by our admins, setting up an CDE takes about 15 minutes.
This tutorial will guide you through deploying your own CDE containing Bitwarden. You will sync the source code to your local machine, while Bitwarden will run on the CDE. You can make changes to the Bitwarden source code and see how your changes are built and available for inspection on the CDE - fully automatically.
No dependency management. Straight to coding.
Sign up via the
This is a beta release of DevStack and we are continuously improving upon it. We would be happy to hear your thoughts and ideas, so please, don't hesitate to contact us at bitwarden@cloudomation.com.
Prerequisites
OS
DevStack runs on Linux distributions. Alternatively, if you're a Windows user, you can use the Windows Subsystem for Linux (WSL).
Packages
You will need the following packages. If you don't already have them installed, you can install them with the commands below.
If you're using WSL, you need to install the packages in WSL, with the exception of mkcert which must be installed on Windows. Below you will find more detailed instructions
for installing mkcert.
-
openssh
sudo apt-get install openssh-client -
pv
sudo apt-get install pv -
tar
sudo apt-get install tar -
gzip
sudo apt-get install gzip -
rsync
sudo apt-get install rsync -
inotifywait (inotify-tools)
sudo apt-get install inotify-tools -
mkcert
Below are our recommended installation steps. If you want to explore alternatives, you can find the full installation guide on https://github.com/FiloSottile/mkcert#installation.
Linux
If the
mkcertpackage is available for your distribution, you can install it with the following command:sudo apt-get install mkcertIf you get
E: Unable to locate package mkcert, it means that the package is not available for your distribution. In this case you can download the pre-built binaries with the commands below.curl -JLO "https://dl.filippo.io/mkcert/latest?for=linux/amd64"
chmod +x mkcert-v*-linux-amd64
sudo cp mkcert-v*-linux-amd64 /usr/local/bin/mkcertWindows (if you're using WSL)
Download the binaries https://github.com/FiloSottile/mkcert/releases/download/v1.4.4/mkcert-v1.4.4-windows-amd64.exe.
Walkthrough
Bitwarden is an open source password manager (https://bitwarden.com/).
First, head over to DevStack to get free access to your Cloud Development Environment (CDE) instance:
1. Sign-up & Login
Sign-up
If this is your first time using DevStack, and you have not yet signed up, you need do so. Your sign-up will be verified by one of our administrators and once verified, you'll get a confirmation email.
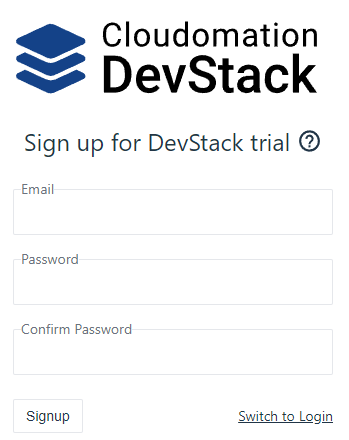
The sign-up page.
Login
After you got the confirmation email, you can log in via the login page.
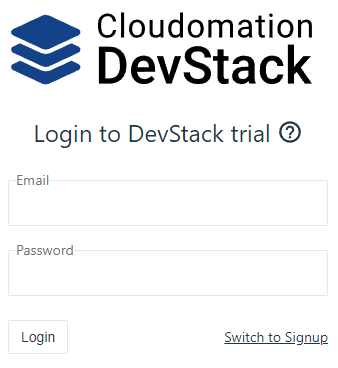
The login page.
2. Configure & Create your CDE
Configure
If you have not yet created an CDE, you need to enter
-
your SSH public key - for the SSH connection to the CDE
-
a local directory of your choice - the Bitwarden source code will be synced between that folder and the CDE. You can make changes to the source code locally with an editor of your choice. The changes will be synchronised with the CDE.
The local directory will be created as part of the initialisation and doesn't need to exist beforehand. Use a directory name that doesn't include spaces.
If you're using WSL, make sure to use a WSL SSH key (usually located in home/<user>/.ssh) and a local directory in WSL.
Use an SSH keypair that is not protected by a passphrase. If you normally use passphrases, consider generating a fresh SSH keypair for this use case.
Once you're ready, click on "Save". You can change these settings later by clicking on the gear icon. Note that changes to the settings will not be applied to already created CDEs. To apply the new settings, delete and re-create your CDE.
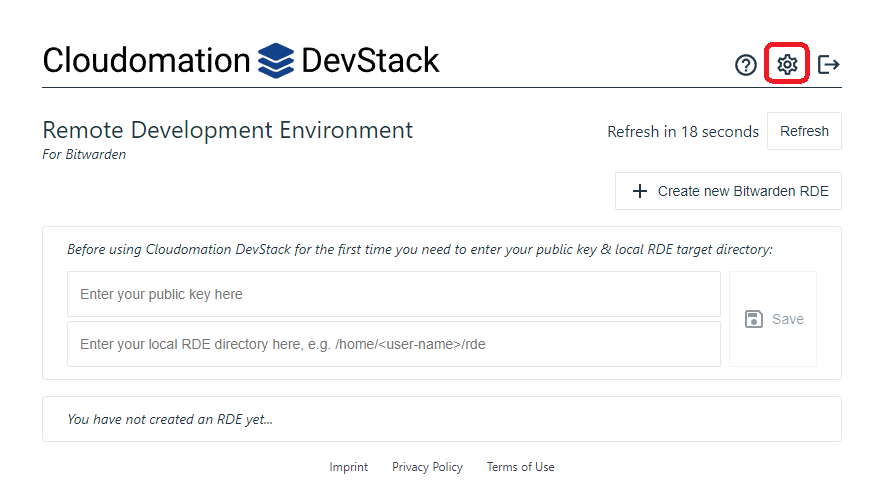
The CDE configuration. The highlighted icon lets you change your configuration later.
Create
To create a new CDE, simply click on "+ Create new Bitwarden CDE". A new pending CDE instance will show up. In the background a new VM is deployed and all necessary Bitwarden components are deployed on it. After a minute or two, the CDE is ready.
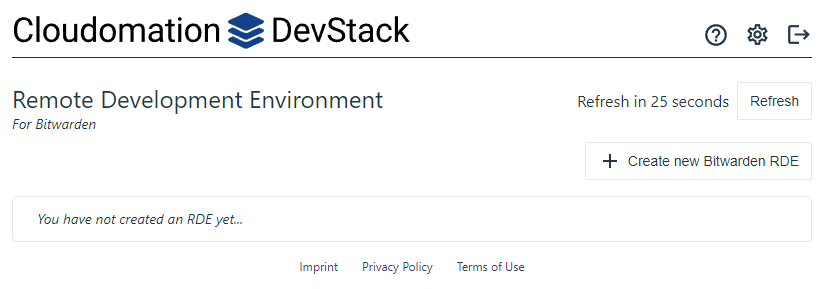
An "empty" self service portal.
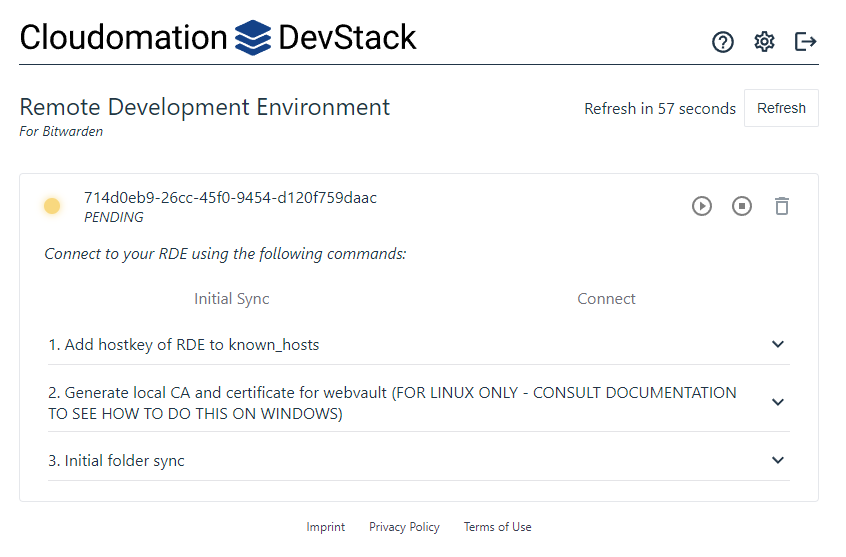
The CDE is getting ready. This takes a minute or two.
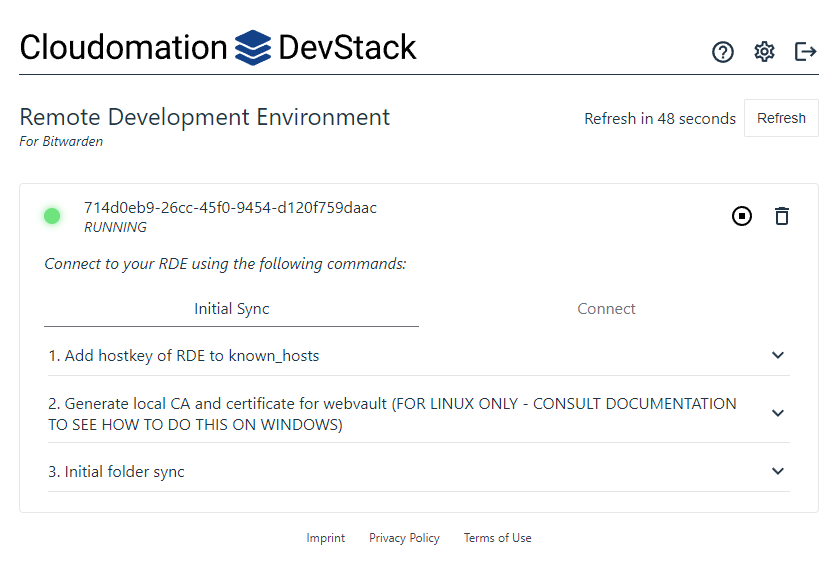
The CDE is ready to be used.
3. Initial Sync (only needed after creating a fresh CDE)
After creating a fresh CDE, you need to sync the source code from the CDE to the local folder. The source code consists of two repositories: clients and server.
Depending on network bandwidth the initial sync takes about 2-10 minutes.
The "Initial Sync" tab consists of 3 steps. Each of them contain commands that you need to execute in a Terminal session.

The steps for the initial sync.
Installing certificate for Windows (only needed if you're using WSL)
-
Make sure that you have downloaded the
mkcertbinaries for Windows as described here. -
Open a PowerShell session where the binaries are downloaded e.g.
C:\Users\devstack-user\downloads. -
Execute the binaries with the
--installparameter. You might need to confirm the installation../mkcert-v1.4.4-windows-amd64.exe --install -
Create the certificate.
./mkcert-v1.4.4-windows-amd64.exe -cert-file dev-server.local.pem -key-file dev-server.local.pem localhost 127.0.0.1 bitwarden.testThis creates a
.pemfile in the same folder where the mkcert binaries are. -
In the same Terminal session where you have completed the initial folder sync, navigate to where the binaries are downloaded e.g.
cd /mnt/c/Users/devstack-user/downloads -
Copy the
.pemfile to the CDE via SCP.scp dev-server.local.pem bitwarden_rde:clients/apps/web/
4. Connect to your CDE
Whether your CDE is new or you've just restarted it, you can to connect to it by going through the steps on the "Connect" tab. These steps contain commands that you need to execute in a Terminal session.
You should execute the steps "2. Local to CDE sync" and "3. Port forwarding" in two separate Terminal sessions. One session takes care of the synchronisation. The other takes care of the port forwarding.

The steps for connecting.
After you're done, you should have 2 Terminal sessions running:
- a session with the file sync. This listens to changes in the local folder and syncs them to the CDE
- a session with the SSH port forwarding. This lets you directly access the CDE and exposes your Bitwarden UI, MailCatcher, etc. locally via port-forwarding.
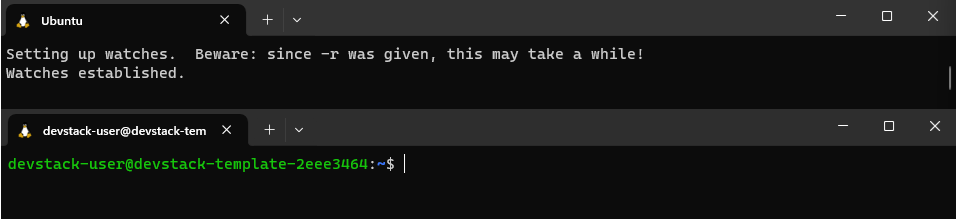
The two terminal sessions after connecting. The top one is the active file sync. The bottom is the SSH connection and port forwarding.
Restart services (only needed the first time after installing the certificate)
- In the Terminal session with the SSH port forwarding, connect to the webvault session.
screen -rS web - Press
CTRL + Cto kill the service. - Start the service again.
npm run build:bit:watch - Press
CTRL + A, Dto detach from the session.
5. Code Away 🎉
Congratulations! You now have a fully functional cloud development environment. You can edit the source code directly in the local folder with your favourite editor.
Changes that you make are synced to the CDE upon saving, triggering a hot-reload of the Bitwarden build. You can see and test your changes by interacting with the
Bitwarden UI locally on https://localhost:8080.
Example: Replace noItemIcon
Here's an example of a simple change in the source code, to give you a quick feel of how this all works.
Your Bitwarden client is configured to connect to a server on the CDE. This means that you need a local Bitwarden account to log in to the Bitwarden web vault.
You don't need to use real credentials or your real email address for the sign up (e.g. email: demo@bitwarden.com pw: averysecurepassword will suffice).
The account information is kept locally on the CDE.
You can see and interact with the account verification email via MailCatcher on http://localhost:1080.
Our Idea
Let's say, that we want to introduce some light-heartedness when there are no items to list in a view. We want to do this, by changing the icon that is displayed.
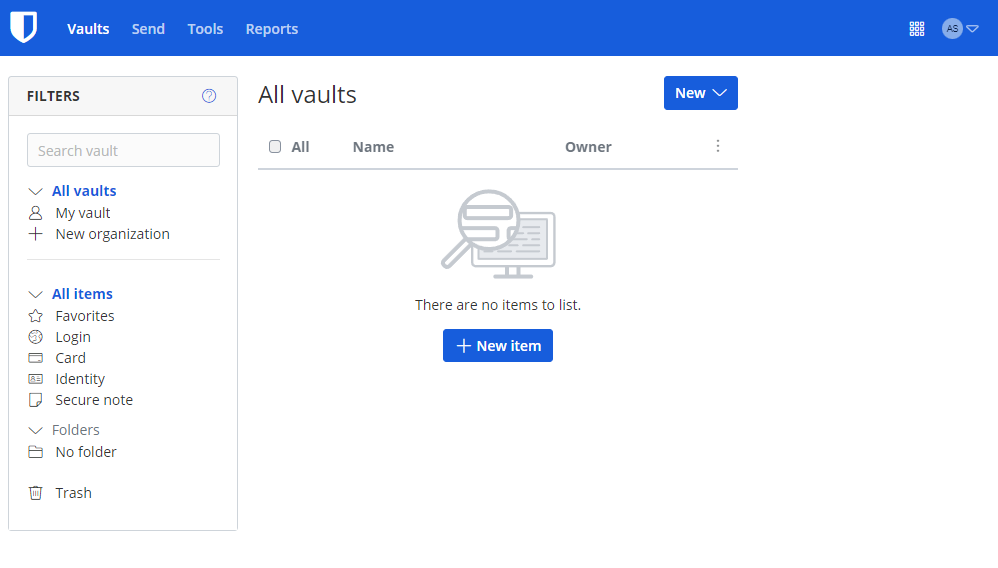
Currently, a smooth and professional icon stands above "There are no items to list."
Step-By-Step
-
Decide on what to show instead of the original icon. We decided to use an iconic scene from the cult movie Pulp Fiction.
noteYou can download the same gif here:
https://media.tenor.com/EbyOKpncujQAAAAi/john-travolta-tra-jt-transparent.gif
-
Move the new image to
/apps/web/src/images/within theclientsrepo in your local Bitwarden folder. We called the filenew-no-items.gif. -
In
/apps/web/src/app/vault/individual-vault/vault.component.htmlwithin theclientsrepo in your local Bitwarden folder:Replace
<bit-icon [icon]="noItemIcon" aria-hidden="true"></bit-icon>with
<img src="images/new-no-items.gif" width="200" height="200">in Line 68. Note that we use the file name
new-no-items.gif. -
Save.
The local changes are automatically synced to your CDE. Once the sync is done, the client is rebuilt and you can see your changes locally on https://localhost:8080.
All this is done within seconds.
A fine sight to behold!
CDE Actions
Stopping and Restarting your CDE
When you're finished for the day, you can stop your CDE simply by clicking on the stop icon on the self service portal. All data on the CDE is kept.
When resuming work, start your CDE again by clicking on the start icon on the self service portal. You can pick up where you left off within a minute or two.
After restarting your CDE, don't forget to connect to it again as described here.
Deleting your CDE
If you don't plan to use your CDE any more, or you just want to start with a fresh CDE, delete it by clicking on the delete icon on the self service portal. Note that all data on the CDE will be deleted.
Multiple CDEs & Branch switching
In this DevStack trial instance, you are limited to 1 CDE at a time (in the full product you can run many CDEs in parallel).
Since branch-switching is done by switching to a different CDE instance (that is built from a different branch), you are (mostly) limited to working with one branch.
It is technically possible to switch branches in your repository. This will, however, trigger a sync of all differences from the local folder to the CDE. Depending on how much the branches differ, this might take considerable time.
What's Next
If you liked using DevStack for Bitwarden and want to use it for your own software project, get in touch with us at info@cloudomation.com to talk about your personal trial.
If you're interested in using DevStack in your organisation, join our pilot customer programme.