User & Role Management
Managing users
You can add, edit and remove users via the Engine UI. To do so, click on the button shown in the image below and choose Manage Users & Roles.
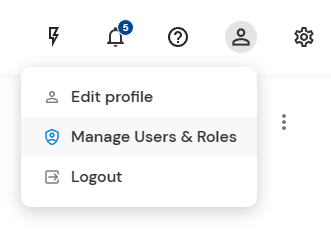
The button for managing users
User overview
On the 'Users' tab, there is a list of all users including an overview of their configuration (name, email, 2FA enabled etc.). You can also see the button for adding a new user (more on that later).
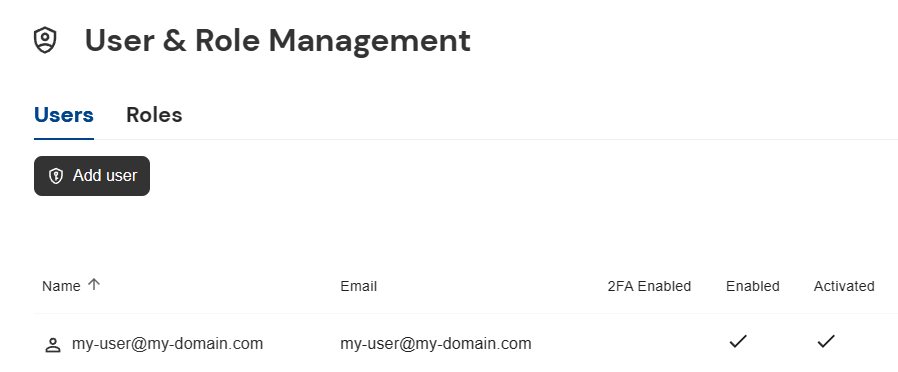
This overview shows the current users
Editing users
Clicking on a user opens a detail view of it where you can edit its configuration (given that you have the needed role).
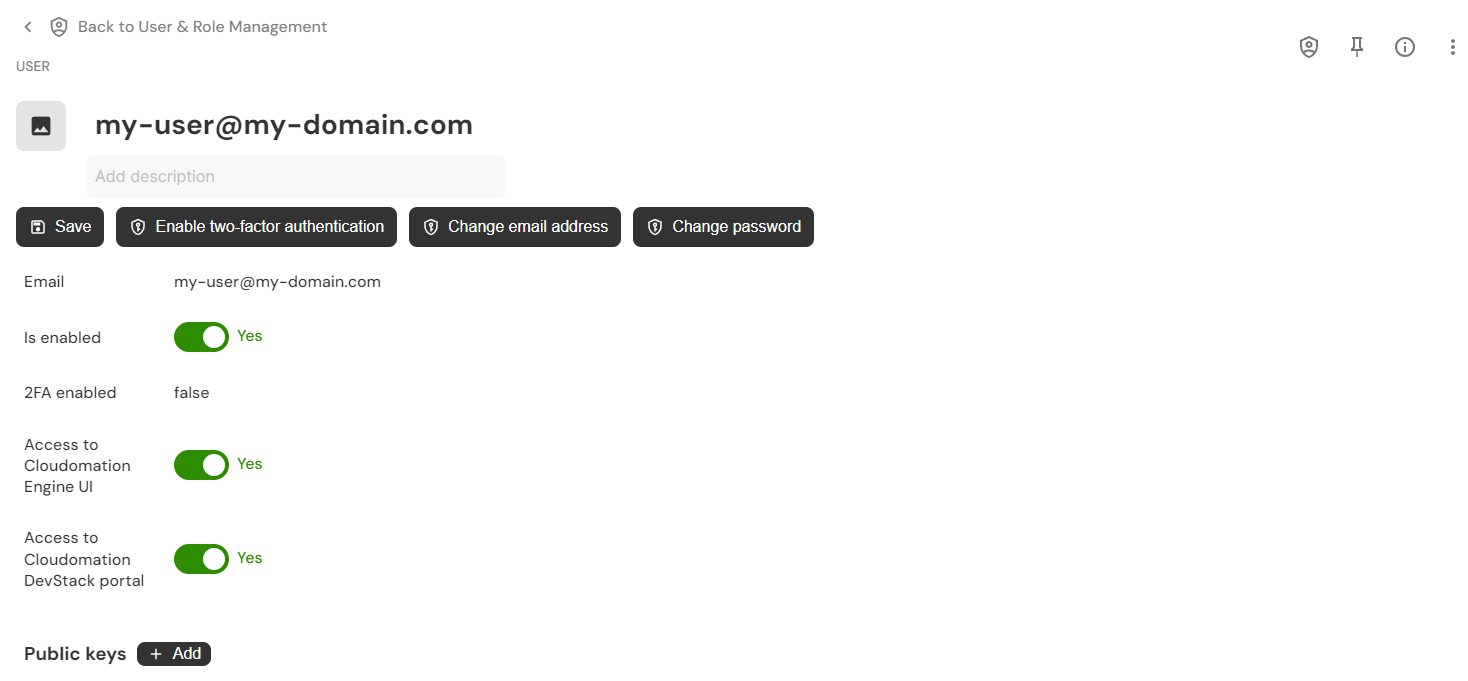
The detail view of a user
Controlling Access to the UI
An active user in Cloudomation Engine, has automatically access to Cloudomation DevStack.
You can restrict a users access to the Cloudomation Engine UI and/or the DevStack Self Service Portal if a user only uses Engine or DevStack.
Restricting access to the UI doesn't restrict API access. Use Role Based Access Control if you want to restrict a user's rights across the UI and API.
Adding users
With the 'Add user' button on the users tab you can create a new user. Once you have created a new user, they will get an email with the activation link.
For security reasons you need to enter your credentials when creating a new user.
The newly created user will automatically have the default role assigned. The default role allows for reading, creating, updating, and deleting records but only in the Default project.
Make sure to assign them the roles needed for their function. See managing roles for more on this.
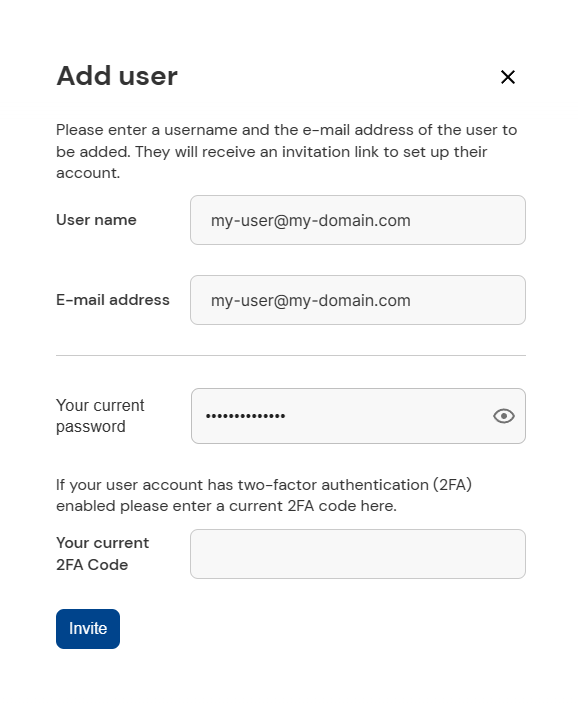
This is the form for creating a new user
Managing roles
Creating roles and assigning them to users is possible via the Engine UI and via the Flow API. For more on this refer to Role Based Access Control.